Did you receive a name and a blessing? When? By Whom? Who was present at this event? Do you have a copy of this blessing? Why not include it here? Has this blessing played a significant part in your life? Is there a family tradition followed at the time of blessings? A certain dress that is worn? A family dinner or gathering? Tell me about it.
Were you baptized as a baby?
Were you confirmed?
Was there religious tradition and/or ceremony involved? When and where did these events take place? In a church, a home, a hospital? Tell me about the circumstances of these events in your life.
So what to do about all the digital files that I’ve organized? First, remember that I gave everything a title that makes sense and is easy to search for. Now, I thought I might like to include the source information with the digital file. Instead of typing on the photo file, I wanted to use the metadata.
What is metadata you ask? Why, it’s data about data. Metadata describes how and when and by whom a particular set of data was collected, and how the data is formatted. What does that really mean? Well, it is a listing of information about the item. For example if it’s a photograph your metadata might include the name of the camera, the day and time the image was taken, the image name or number, etc.
So, what I want to do is add a title and the source citation to the metadata so it will follow the image around wherever it goes. Basically, this is the modern way to write on the back of the picture. The information will stay with the image.
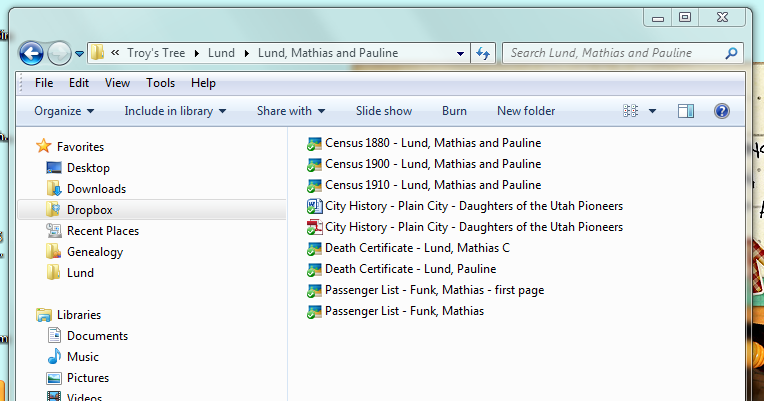
Here’s one of my source files for Troy’s g-g-grandparents Mathias and Pauline Lund. I have a few records for them including census’ and death certificates which are jpg files and a city history which I’ve saved in word and pdf versions.
The titles are crafted to make the file easy to find. If you look at the contents of this folder as a list (above) you can tell right away what each file is.
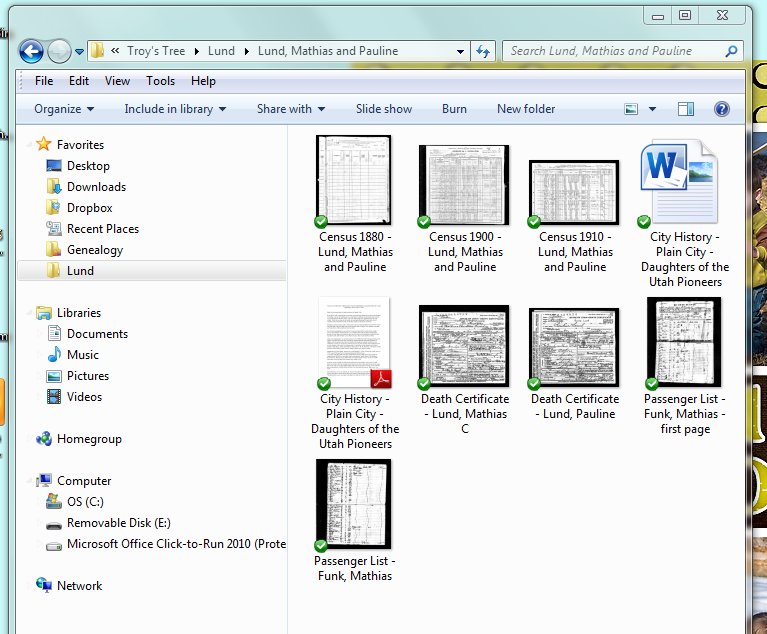
I could also view the images as thumbnails. Still, the titles really help me know what’s what because the images are so small. This way I don’t have to open every image.
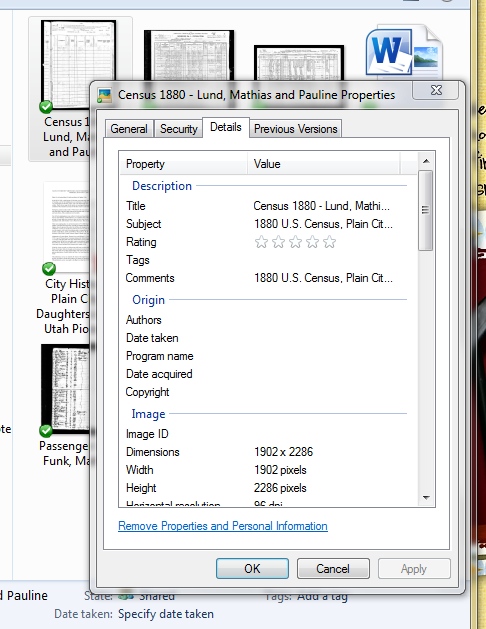
There are multiple ways to edit the metadata. You could use something as robust as Photoshop or as basic as just right-clicking the file, choose “Properties” and then the “Details” tab. You can change the data there.
I wanted to be able to print my image with the source on the same page, like a caption. I chose to use Picasa, a free image editing software from Google. So, here’s what I did.
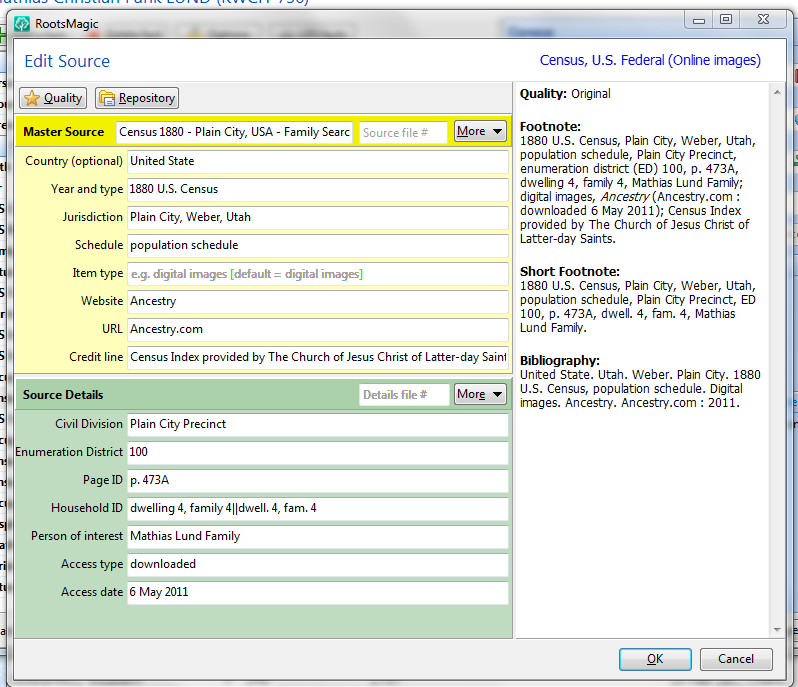
Open the source screen in Roots Magic 4. I used the “footnote” version of the source citation (on the right). I just highlighted it and copied it so I could paste it later.
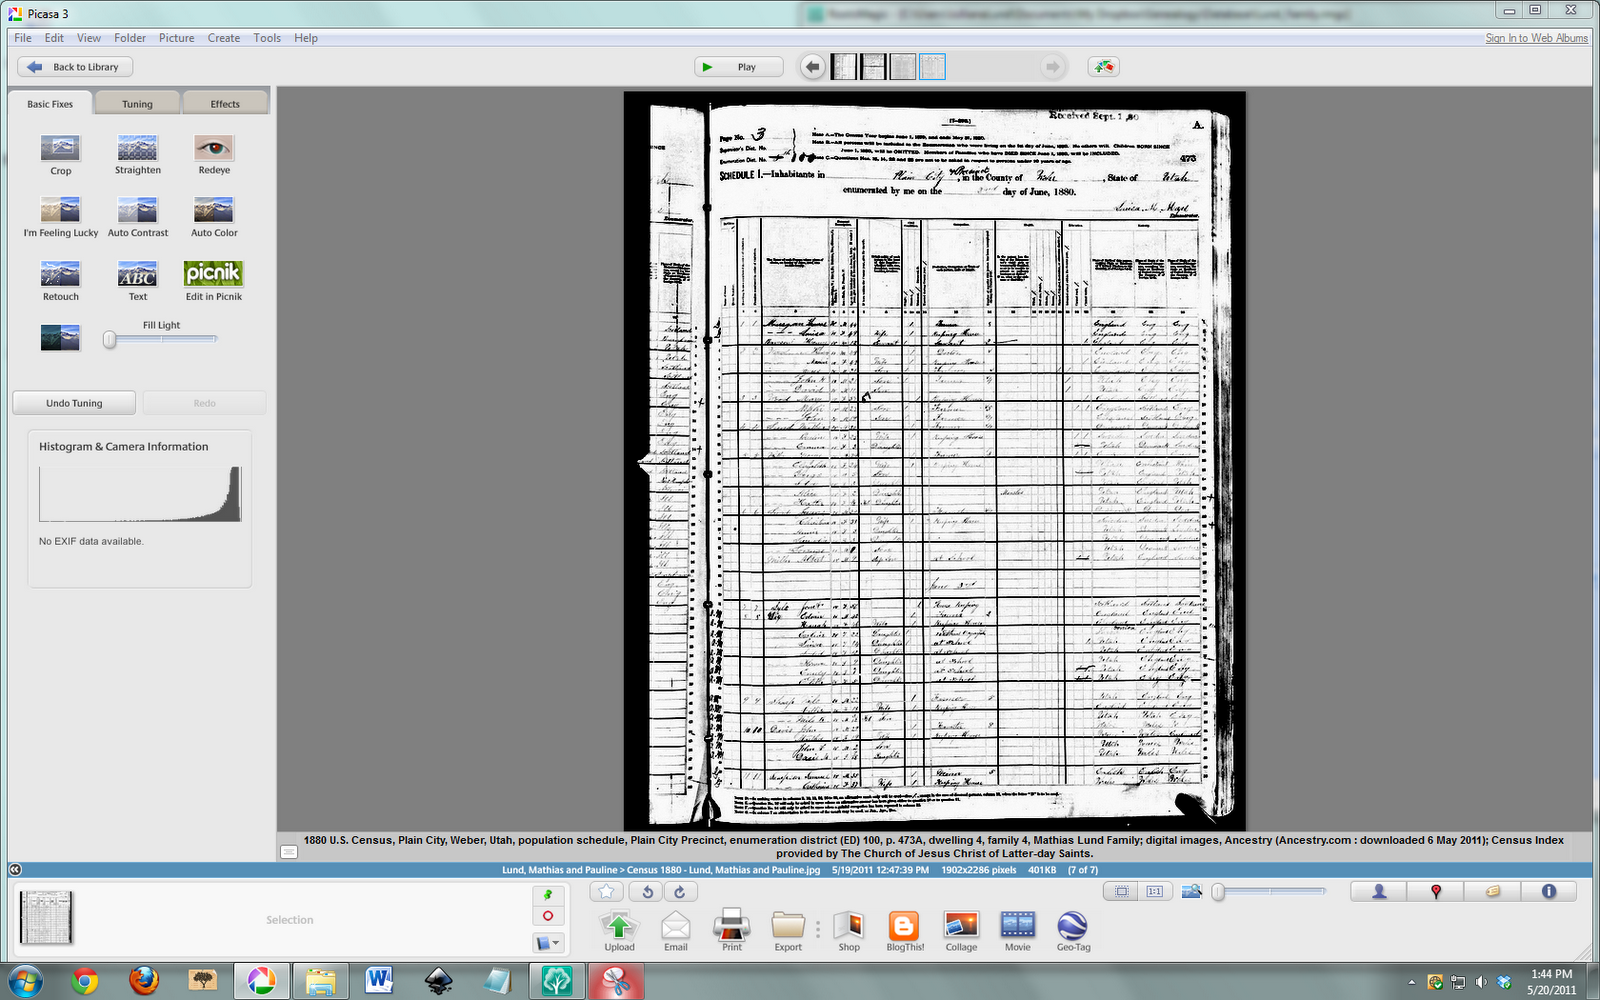
Then, when I open the image in Picasa’s edit window I add the citation under the comments area. That’s the grey bar at the bottom under the image.
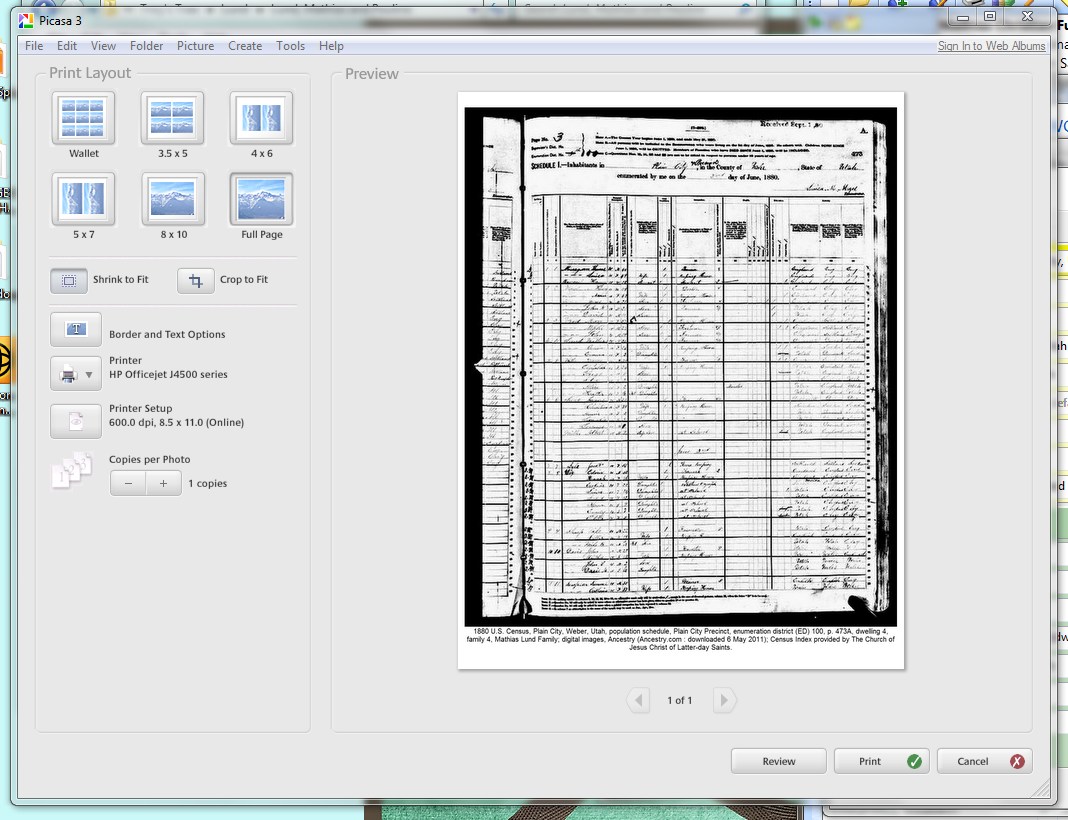
Now when I select File>Print I have the option under “Border and Text Options” to add the comment below the image when it prints.
I also added the citation in the windows properties dialog because I want to be sure that it will travel with the image if I ever send it to someone.
Now, another thing I can do with this file is save it as a pdf. This makes it really easy to share without having to print. I use cutePDF as the “printer”. If you install this program, then cutePDF shows up as a printer option. Then save your file with whatever name you want. Here’s the example of Mathias Lund’s 1880 Census for you to check out.
Wow! Have you used this site yet? It’s amazing! I was looking for Death Certificates for ancestors from Plain City, Weber Co., Utah, United States so I checked out the Weber County Health Dept. They only have records from the last 50 years and they cost $16 each! But, they told me that the older records were at the Utah State Archives…and guess what…they have an amazing website!
There are a ton of records online! For Death Certificates they have 1904-1958 indexed online with images. Some older ones are in microfilm, indexed online, but you have to go to the archives to see them…I’ll plan on doing that later. For now, I decided to find all the online images. Here’s how I found 53 Death Certificates in about 1 hour!
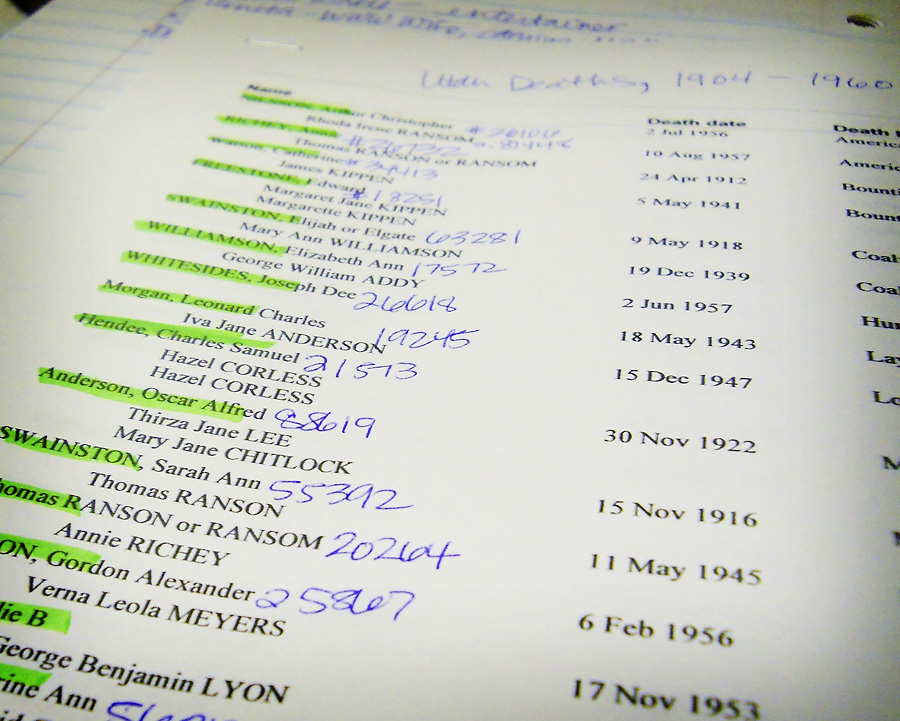
Step 1. Generate report. In Roots Magic this is really easy. I created a list of Deaths in Utah between 1904 and 1958. I made sure to include spouses because the female’s Death Certificates are under their married name.
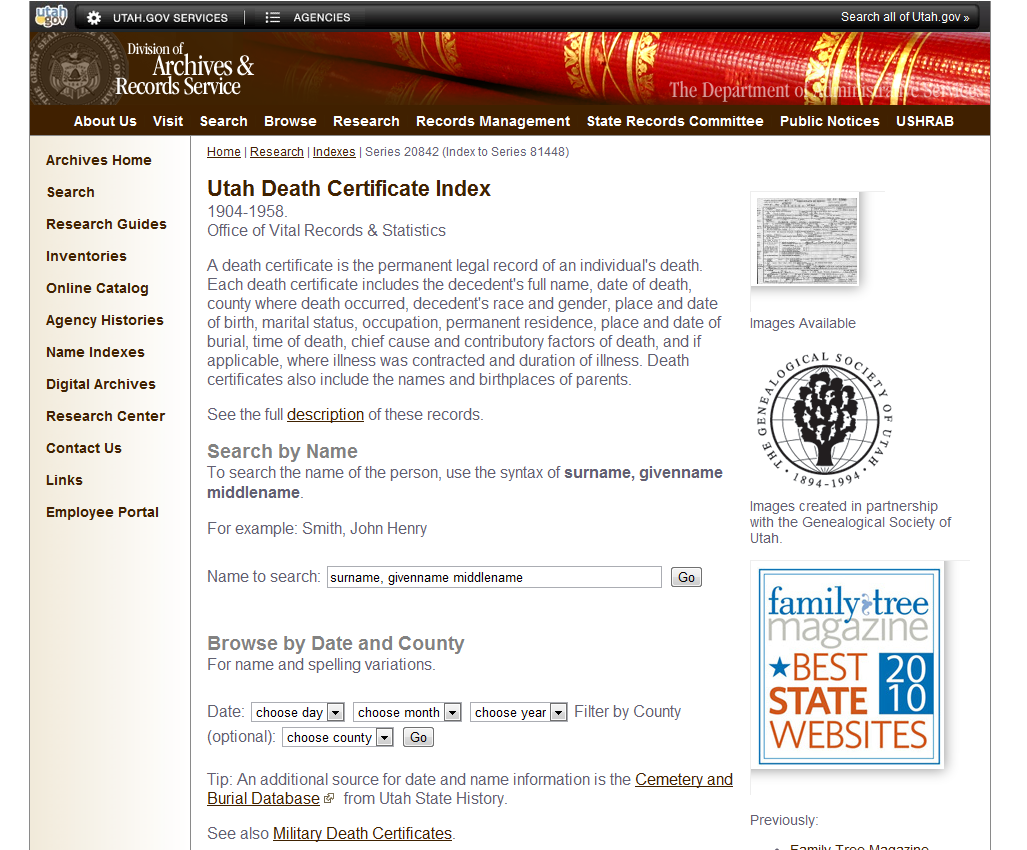
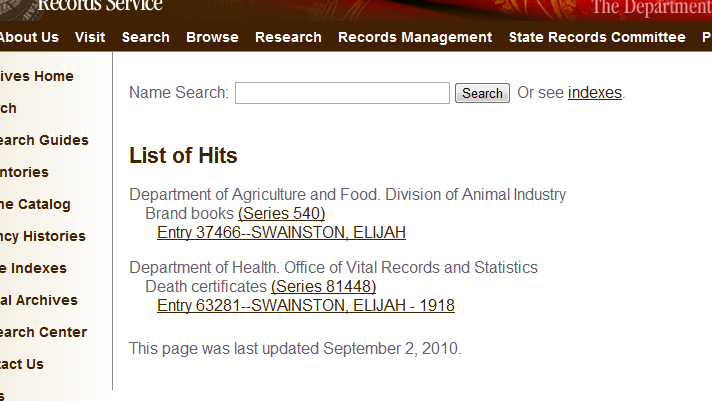
Step 2. Search. In the right menu from the home page select “Research” then “Research Guides”. Choose the link to the Death Index for 1904-1958. You can search by name or Date. The date search was really helpful if the spelling was off. Using these search options I was able to find all but 5 records. I’ll have to do some more digging to see if the names or dates are wrong…or maybe they didn’t die in Utah!
Here’s my search for Anderson, Oscar. His name is actually Oscar Alfred Anderson, but I didn’t know if the middle name would be on the certificate. There he is:
Then select the name and you’ll get to the List of names that match.
Be sure to write down the Entry and Series number for citation purposes. The series for all these records was 81448, but each entry had a different number. I wrote those on my printed report.
Step 3. Download and Name the File. When you select the name from the list you’ll go to the specific document page. I just right-clicked on the image and selected “save link as…” {Note: DO NOT CHOOSE “save image as…” that saves the teeny tiny image on this page. You want to save the BIG image. You could also open the image and save it from there.} I saved mine as “Death Certificate – LastName, FirstName”. That way it was ready to be filed in my source folders.
Step 4. Add to Database and File. At some point I will go through each file and add the information and citations to my database. That will be a longer process. For now, I’ll just add them to my “to file” folder and let them hang out there for a while.
Additional Awesomeness:
At the top of the windows there is a “Name Search” box. If you use this instead you’ll see ALL THE RECORDS for that name! Awesome! In this case I found a Brand book that included Elijah Swainston’s brand for his cattle. Amazing! I’ll have to go back and check that out later.
Finally, here’s what I accomplished in about 1 hour:
That’s right – 53 Death Certificates, one Brand Book page, and 1 citation file (with the basic info so I can cite all these files later, when I’m ready to it later).
I’m really trying to go as digital as possible with my genealogy research, for various reasons. First, it will save a tree. Second, Although its easy to find my hard copy files now that they are organized, I think its faster to search for digital files on my hard drive. Third, I don’t have to keep going back to the original documents and risk damaging them. I can just deal with my digital copy. So, how do I organize them?
First, I use Dropbox. This is great to use because it not only stores all the files on my hard drive (the “My Dropbox” file is under “My Documents”) but also in the “cloud”. This means I can access this file from anywhere in the world if I have internet access. So, I could take my laptop to the Family History Library and add files right into my system from there…awesome!
Also, I can sync it with other computers so it will automatically update when I make changes. For example, I’ve synced my entire dropbox on my laptop. I’ve also shared my genealogy folders with my Mother-in-law so she can look at them too. Okay, lets talk folder structure:
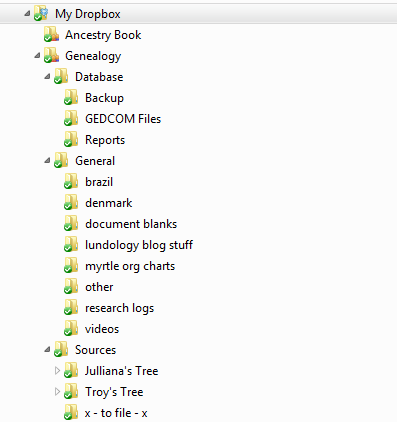
First, create a Genealogy folder. Within that folder create a Database folder, General folder, and Sources folder.
I use my database folder to store backups of my Roots Magic database, Gedcom files I’ve received or created, and reports I’ve created.
I use my general folder for exactly that – general genealogy stuff that isn’t specific to one person or family. So this is where I put my research logs, videos, and info about researching in Brazil and Denmark. Create as many folders as you need – remember, digital folders are free and don’t take up any space (just the documents inside them do).
Now lets talk sources…this is where it gets good.
In my sources folder I create a folder for my tree and Troy’s tree. Within each of those folders I create a folder for each Surname (last name) that appears in the respective family trees. I have a lot more names in Troy’s tree but that is okay. Now let’s take a look at one of those Surname folders.
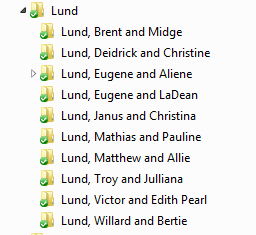
We have a lot of Lund families in our tree so here’s the Lund surname folder. I’ve named them by last name first then by the husband/wife name. Now, I add any information about these families within the respective folders. Remember from the hard copy filing post to file in the family the doc was created in. For example, my Birth Certificate is in my parent’s folder, but my marriage licence is in my husband and my file…because that took place when we were a new family.
Here’s a look inside Troy’s G-G-grandparents’ folder – Mathias and Pauline Lund. As you can see by the document titles, I can tell exactly what each document is without having to open each one. I’ve chosen to follow the following naming order:
Document Type – Person(s) Name – Date – additional info
That way, all like documents bunch together. Some other folders have picture files, so one way I would name it would be: Photograph – deMacedo, Deolinda – 1983 – s1 or Photograph – deMacedo, Deolinda – 1854 – Identification Card – s2
You could also look at thumbnails of the documents in the file –
As you can see, it is still important to have the name in order to know what you’re looking at. The great thing about this system is that you can find any person’s records quickly and easily. You can also search for items based on the title and find it super fast. Try it for yourself.
Why, its the study of the Lund's, of course! I am jumping in to researching our family history and seeing where it takes me. We are the Lund's. We come from Lund's, Ranson's, DeMacedo's, Lima's, Anderson's, Warner's, Ferreira's, Da Silva's and beyond! Since my own side of the family is from Brazil, it is quite difficult to track things down. Troy's side, on the other hand, has proven to be much easier. So, I'll be jumping back and forth and all around to learn about where we come from.
Are you related to us? I'd love to learn more about you and share what I know about our common ancestors!